

Post-Harvest Farm Maintenance: 6 Steps for Better Spring Prep

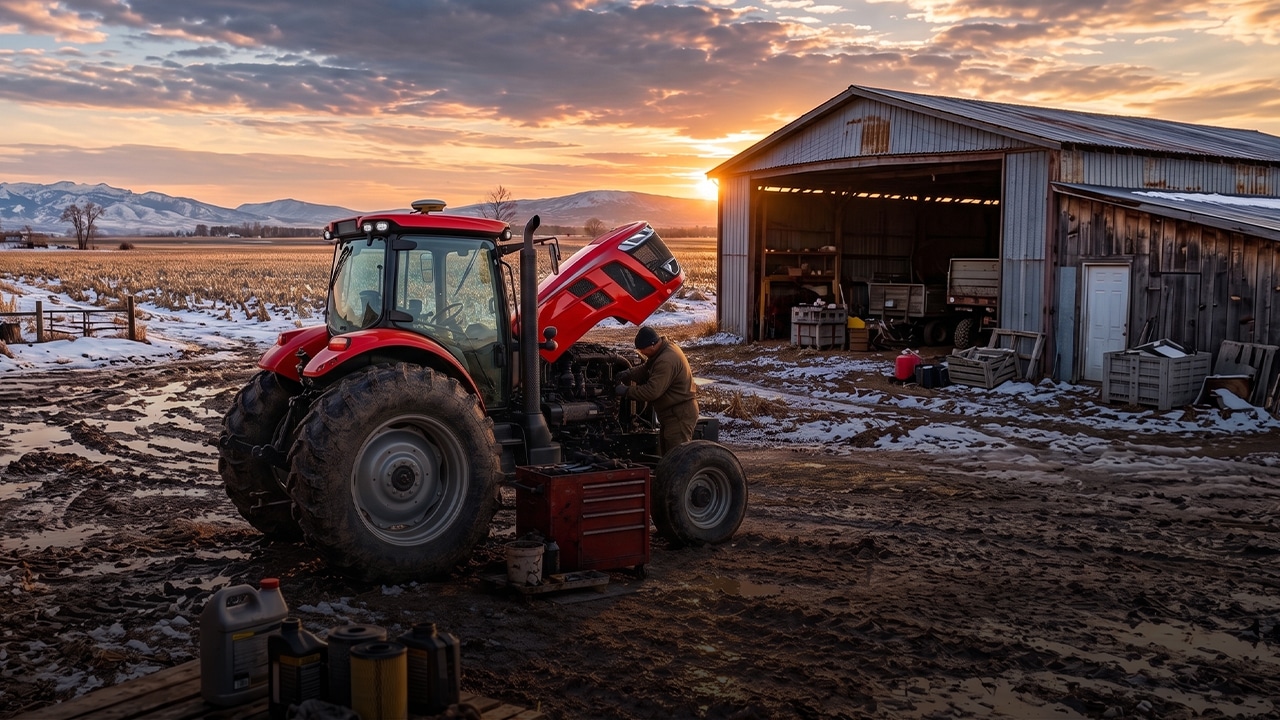
Post-harvest farm maintenance begins once the harvest is over, but the work needed to safeguard the next season hasn’t ended. It’s easy to miss a damaged belt, a leaking pipe, or a grain bin infested with pests when the machinery is finally stored away. It’s possible that months later, the same issue will delay planting or irrigation exactly when the conditions are favorable for working in the fields.
The purpose of carrying out farm maintenance after harvesting is to use this quieter period to identify any problems, protect what already exists, and carry out any necessary repairs before the busy season comes back. The suggestions given here are based on guidance from Penn State Extension and the University of Minnesota Extension, so they are mainly aimed at areas that experience cold winters. Farmers in regions with milder climates can still use the same checklist and adjust it to suit their local conditions.
Clean, Inspect, and Service Farm Machinery
Equipment such as combines, tractors, balers, and sprayers shows the effects of a long season. According to Penn State Extension, the end of the season is an excellent opportunity to check the equipment, as cleaning will reveal any leaks, cracks, and worn parts. It is also important to consider the metal itself since fertilizer, manure, and forage residue cause corrosion. The machines should be allowed to dry out before being stored in an enclosed building, as leaving them wet in a humid area can lead to rust. Do not use degreasers or high-pressure water near electronics, bearings, chains, and belts.
What to look for while you clean
- Paint that has lost its color, metal filings, or stress cracks, according to Penn State, may indicate bearing failure or overheating.
- Check for uneven wear on the gears, pulleys, belts, and chains. When belts, chains, and springs have stretched, they should be compared with the manufacturer’s specifications.
What to service before storage
- Oil: If a machine is near the time when its oil should be changed, carry out the oil change before storing it in order to prevent acids and contaminants from remaining in the engine for three to nine months.
- Sprayers: Flush and drain them as thoroughly as you can, then add antifreeze in order to protect the pump, the strainers, and the lines.
- Fuel: It is recommended by Penn State that during temperature fluctuations tanks should be kept full in order to reduce condensation; the only exception is gasoline equipment which, if stored for a long time, should have its tank left empty. Since diesel begins to turn cloudy at about 32°F, you should ask your supplier about winter blends or additives.
- Batteries: Charge them, clean the terminals, and disconnect the monitors and controller boxes left in the cabs since they can drain the battery over time.
- Tires: Keep them away from both sun and heat, check the pressure first (for every 10°F decrease in temperature, the pressure can drop by about 1 psi), and either move the equipment monthly or place it on jacks in order to reduce strain on the sidewalls.
- Coolant: Check that the freeze protection is working and the coolant is in good condition, and refer to the owner’s manual to see which type is the correct one.
Rodent prevention. Grain, hay, chaff, and cab insulation can attract rodents. According to Penn State, the crop residue should be removed from forage choppers, balers, and transmission housings and the remaining residue should be blown out before the equipment is stored indoors.
Decide where to store each machine. Penn State Extension cautions that storing machines outdoors can cause damage to combines and balers after just a few seasons. Since not all farms have enough space to accommodate all their equipment, you should first bring in those machines which have a lot of electrical components, a high resale value, or are sensitive to sunlight and moisture, and don’t keep them in the same building as the hay. Make a record of any repairs that you can’t complete immediately. As dealers generally arrange their off-season “uptime service” between December and March, it’s necessary to book yours early if you need it.
Give Irrigation Systems an End-of-Season Check
It’s simpler to investigate irrigation problems when the crops don’t need much water. The most detailed advice in our sources relates to center pivots, which are the long sprinkler systems that rotate around a field. The irrigation specialist with the University of Minnesota Extension recommends:
- Carry out a test for uniformity by setting out “catch cans” to check if the water lands evenly, and then repair leaks and replace any missing or damaged sprinklers. Since sprinkler heads generally last between 5,000 and 8,000 hours of operation, extremely uneven results could be a sign that it’s time to replace them.
- Draining and cleaning: Drain water from the pipes, valves, tanks, booster pumps, and pump casing, and also empty the sand trap located at the end of the pivot.
- To protect against rodents and corrosion, close the motor and pump openings, lock the control box in the OFF position, tighten the connections, and clean off the corrosion from the contact surfaces. The flow meters and pressure gauges should be stored in a warm place.
- Routine servicing is required: the gearbox oil should be replaced each year before winter, the tire pressure checked, and the engine which drives the pump serviced.
- Wheel track and pivot point: Fill in the ruts within the wheel track in the fall in order to reduce erosion during winter and spring, and clear the vegetation around both the pivot point and the well to discourage rodents and grazing cattle from approaching these areas.
The checklist is designed for use with center pivots, the writer pointing out that the components differ from system to system. Since drip and other types of systems have their own requirements regarding flushing and storage, you should follow the manufacturer’s recommendations. A small leak may not seem important once irrigation has ceased, but if it is discovered at the very first watering, it turns a simple repair into a delay.
Look for Drainage and Soil Problems Before They Spread
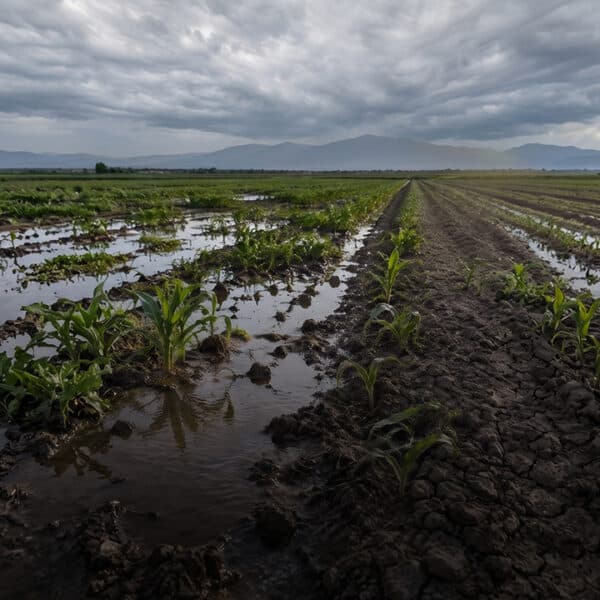
After the harvest, inspections should not be limited to the equipment yard; you should walk around the areas where water pools, examine the drainage outlets and the field access routes for any damage, and make a note of the ruts caused by the harvesting machinery.
Don’t feel the need to fill in every rut immediately. Iowa State University Extension states that tilling in a wet field may be counterproductive since it can lead to even deeper compaction, and Penn State points out that tilled compacted soil is more likely to become recompacted. As Iowa State suggests, a better method is to wait until the soil is dry enough and then make a light pass with a field cultivator, a light disk, or a harrow about a week or two before planting. Ruts deeper than about two inches can influence the planting depth the following spring if they are not leveled.
Bare soil is likewise subject to the weather. A cover crop is a non-cash crop that is grown during fallow periods in order to protect and improve the soil. The USDA’s Natural Resources Conservation Service (NRCS) states that cover crops can reduce soil erosion and chemical runoff, increase water infiltration, boost soil organic matter and the availability of nutrients, and help to suppress a number of weeds. Whether to use a cover crop will depend on the crop rotation, the planting window, and the type of soil. The NRCS cover crop standard calls for planting the crop on time, ensuring it develops sufficient biomass, and terminating it during the late vegetative stages.
Check Grain Storage
To prevent insect problems next year on farms that store grain, action should be taken before the bins are filled. The University of Minnesota Extension (Hanson and Nicolai) recommends:
- Bin cleaning: Begin cleaning at least a few weeks prior to filling; vacuum or sweep away the existing material, including that which accumulates under slotted floors, such as chaff, fines, and broken kernels.
- Sealing the bin: After cleaning the bin, check for and seal any cracks or openings that insects could use to get in.
- Equipment cleaning: You must also clean the equipment; harvest and transport equipment, such as unused augers and the corners of grain trucks, can contain insects during the summer.
- Cold-weather aeration: Make use of the cold; on cold nights operate the aeration fans so as to pass the cold air through the entire mass of grain. Insect development slows down below 50°F and essentially ceases at around 25°F, although insect feeding can raise the temperature of the bin to 110°F, thereby worsening the spoilage.
If you are using residual insecticides, then you should apply them two to three weeks before the grain is stored and must follow the label precisely. Insects usually move toward the center of the pile during winter and an infestation might not become apparent until the weather warms. Indications to look out for are seed that has been hollowed out, exit holes, and webbing which causes the grain to clump together. Since the article from Minnesota does not provide a schedule for checking the moisture or temperature, you should contact your local Extension office to find out what is appropriate for your bin and crop.
Prepare Farm Buildings and Livestock Areas
Buildings and working areas need to be inspected as well. The Penn State dairy winter checklist, which is directed at dairy farms but can be applied more generally, includes:
- Roofs, siding, and doors: Check the roofs for any weak spots, holes, or cracks since heavy snow or ice could cause them to fail; repair any holes in the siding and any broken windows that might allow snow, rain, ice, or wind to get in, and ensure that all the doors function properly.
- Ventilation: Make sure to clean the fan blades and the louvers at least twice a year and also check the fan belts.
- Water: Repair the hoses, floats, and water lines which might lead to ice forming, test the heated waterers, and make a plan to ensure 24/7 access to clean drinking water.
- Access and hazards: To improve access and reduce hazards, clear the equipment away so that snow removal can take place and fill in any potholes on the driveways and walkways.
- Backup supplies: Penn State recommends having a two-week supply of feed and forage and also a two-week supply of fuel in the event that the roads are unsafe. The guide also suggests that the generators should be serviced and that it should be checked whether the insurance includes coverage for building collapse caused by snow load.
The kind of tasks that are appropriate differ among grain farms, livestock operations, and mixed farms.
Turn Your Post-Harvest Farm Maintenance Into a Spring Plan
An inspection is most useful if it results in some action. Make a list of all the issues and categorize them: decide which repairs are safety-critical or could delay work in the spring, which ones you can carry out yourself, and which should be left to a professional. The University of Minnesota Extension also advises looking over the problems that have occurred during the season and planning out the necessary repairs in advance of the next season, including keeping records. Maintenance notes should be kept with the equipment to which they relate.
It doesn’t have to involve a major overhaul. All that is needed is to make use of what the season has revealed to avoid repeating preventable problems when work resumes.
A Better Start to the Next Growing Season
Post-harvest maintenance cannot prevent every equipment breakdown or weather-related delay, but it can help identify manageable problems before they become urgent. The most important tasks will depend on the farm’s machinery, irrigation systems, soil conditions, buildings, and climate. By inspecting equipment and facilities carefully and making repairs on time, farmers can be better prepared for the next growing season.